Special Topics in Horticulture: Cut Flower Gardening & Arranging
Special Topics in Horticulture: Cut Flower Gardening & Arranging
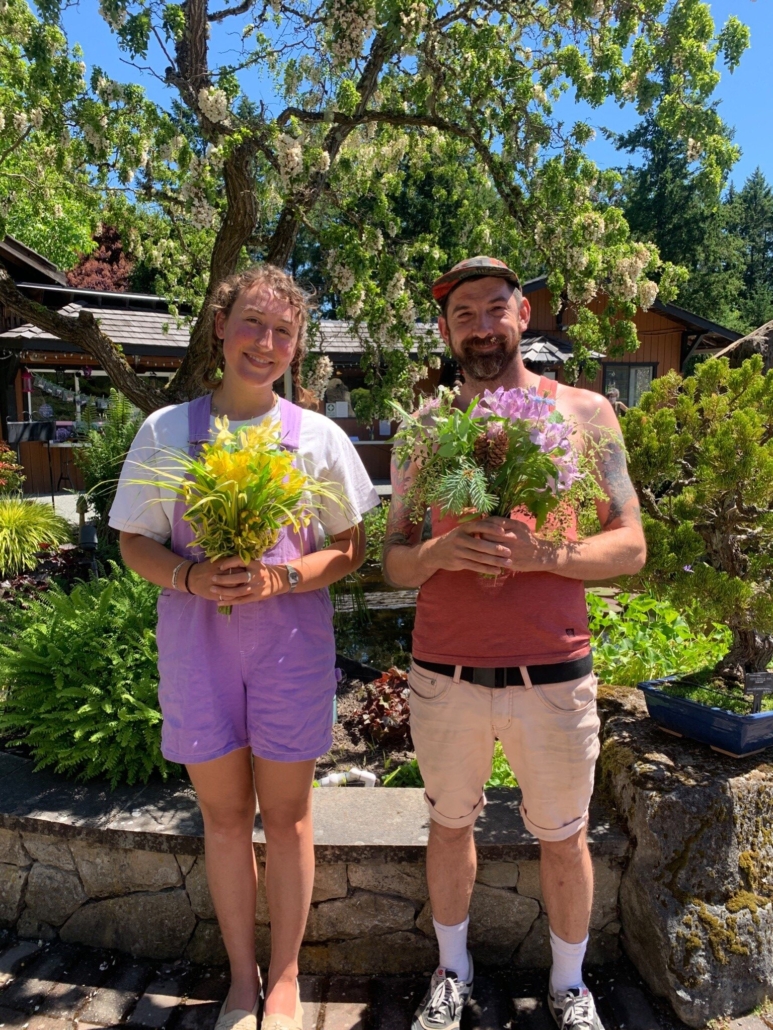
Student Blog Post by Nola Honeywell and Adam Jones
Have you ever dreamt of becoming a florist or cultivating a flower garden? We certainly have & we were lucky enough to have an entire morning dedicated to learning about cut flower gardening, flower arranging & making our very own bouquets with Emily Drolet. Emily is currently working as a horticulturist and is one of our teachers at the local Horticulture Centre of the Pacific. She started off her career with plants as a florist in 2006. Before taking the Landscape Horticulture program at PHC, she was a passionate florist and she shared all her flower wisdom with us, which we're going to share with you!
….The following information is specifically for our region of the Pacific North West…..
Cut Flower Gardening
Cut flower gardening (or a cutting garden) is a garden that prioritizes growing flowers for harvesting. Why on earth would someone want to have a garden of flowers just to cut them down you might ask? Well first it's fun and rewarding to grow beautiful flowers, then make them into beautiful arrangements, & it's a great way to help out our pollinators! Not to mention, it could also be a way to make a little extra money, which wouldn't be the worst idea we've ever had...
How to get started
Is your dream to have a small flower farm or a large enterprise? Maybe you only have a small backyard to get started in. Are you going to require any materials, land, equipment, etc? Don't stretch yourself too thin! It's important to know what your goals & resources are before you get started in any endeavor. Other considerations are that cut flowers require full sun (6+ hrs), well-drained and healthy soil with high organic matter & preferably a dripline irrigation (to save you gallons of time!) to keep water at the root zone. Planning is an important step to success, so having a planting plan can help keep you organized. Successful planting plans cover at least 3 seasons & take into consideration the timing of seedlings, as well as ensuring that there's a variety of shapes, colours, and textures in the plan.
Maintenance & Pests
Maintenance wise, a cut flower garden is no different than any other ornamental garden!
- Weeding is essential!
- Deadheading spent flowers helps produce bigger blooms
- Pinching back takes off the leader & breaks apical dominance to produce more flower buds.
- Adding organic matter (preferably early spring) helps keep the soil healthy & avoids using synthetic fertilizers.
Add 2-3” of leaf mulch in the fall to prevent erosion/compaction/leeching, which you can then turn into the soil in early spring to add organic matter to the soil.
-Monitor the irrigation for any signs of leaks.
Some pests to look out for are the following:
- Deer, your worst enemy! A full grown deer can jump a 6' fence so have an 8'+ tall to be sure.
- Rabbits can eat your crop so a physical barrier is necessary. Overplant & install a fence low below the soil to prevent them from digging under.
- Slugs eat younger tender leaves so beer traps & slug bait are useful.
- Ants aren't the worst pest, but you sure don't want them in your beautiful bouquet! Use coffee grounds & diatomaceous earth to keep ants away.
- Aphids suck. Make a garlic spray by boiling garlic in water, and cooling it to keep them away. Don't spray before harvesting, unless you want garlic roses!!
Harvesting
Some useful & handy tips for harvesting and storing flowers will keep the harvested flowers happy for longer!
- Select flowers that are just starting to bloom/open.
- Cut the flowers in the morning or evening to prevent them from wilting.
-Get the freshly cut flowers in clean warm-ish water & in a cool location that is away from sunlight and away from foods that may release ethylene gas as it may speed up the decomposition process.
-And, don't forget to clean the bucket and tools after each use to prevent the spread of disease!
Arranging
Now that you're an expert on Cut Flower Gardening, let's get you up to speed on the basics of floral arranging!
What you will need..
- Flowers!!!
Some classics that bloom through the seasons are: Daffodils, Peonies, Sweet Peas, Cosmos, Poppies, Dahlias, Sunflowers, Zinnias, Nerines, and Hellebores. But really, any flower that brings you joy will do! Emily gains an immense amount of joy from Nigellas, which are considered a weed. But she doesn't care, she loves them! Nigellas nigellas nigellas! Can't get enough of those beautiful weeds!
- Foliage
Foliage is a perfect addition to a bouquet to help accentuate and compliment your flowers. A good place to start would be with salal, sword fern, or rosemary. But anything that you find pleasing will do!
- Tools
Scissors, floral knife, wire (for weaker stems), floral wraps, ribbon, floral pins, elastics, twine, raffia, floral frogs, chicken wire, the list goes on… if you have none of these, don't sweat it. You can make bouquets as simple or as complex as you want!
Questions to ask before getting started
Now that we have everything to get started on creating our masterpiece, what do we want our masterpiece to be?! Will it be a hand tied bouquet? A statement piece that is a focal point in your house? Or is it a small and simple posy bouquet that you want to give to someone you love? We also have a few other considerations before we put it all together. Do you need this bouquet to last or are you going for an instant pizazz? What kind of style do you want it to be? Do you want it to look like you just grabbed them off the side of the road, or do you want it to look like you robbed Butchart Gardens of their most prized flowers? Before you start your heist, consider the sizes, shapes, colours and textures you're going for. You also want to consider the viewpoint, is your lover going to see it from the front or will they see it from all sides?
Tips from a Pro
Preparation:
- Ready your work space. Prepare your tools and prepare your flowers/foliage; remove tips and thorns, strip lower leaves, etc.
- Pre-hydrate your flowers: cut (on a 45 degree angle), let sit in water so they can have a good drink, and then handle.
Arranging without a vase:
- Start from the inside and work your way out.
- Alternate adding focal and filler flowers in a spiral
- And then frame with a foliage nest.
Finishing touches: Tie off, wrap and or ribbon, recut stems and hydrate!
Arranging with a vase:
- Prepare vessel with chicken wire etc.
- Start from outside and work inwards
- Create foliage structure
- Add filler flowers
- Add focal flowers
Finishing touches: Check for holes in the design, hide the mechanics.
How to make it last…
You have put so much love and energy into this bouquet and you don't want it to look like it is moping! So how do you make a bouquet last? Emily says that the best way to keep it looking snazzy is pre hydrating your cut flowers (preferably overnight), and to use clean tools, clean vases, clean everything. Once it is made into a bouquet you want to change the water every other day, you can recut the stems, and should be feeding the flowers. She even gave us a super easy DIY flower food recipe!
Flower food Recipe:
1 tsp. Sugar (the food!)
1 tsp bleach (the bacteria fighter!)
2 tsp lemon or lime juice (optional)
4 cups of lukewarm water (cold water for bulbs)
We hope these tips help inspire you to start a cut flower garden or start arranging your own bouquets! Because take it from us, it's way too much fun!!!
If you did get inspired, please send us a photo of your bouquet or garden!
With love and flowers,
A&N


