Special Topics in Horticulture: Dry Stone Wall
Dry Stone Wall
Student Blog Post By: Chloe Guimond
Dry stone wall is a technique dating back over a thousand years. It is very popular in Scotland and was traditionally used to separate farmer's fields. This method is very popular because it is durable and does not require the use of mortar or cement and uses natural quarried rocks. It's easier to repair and reuse stones while also looking more natural against landscapes. Dry stonewall is a great way to divide space and create a windbreak.
So how do you build a dry stone wall? You want to start by choosing the best possible stones. You can do this by going to your local Quarry and looking for rocks with a good face, so that they will stack nicely together and be structurally sound. We used local blast rocks which consisted of mostly basalt and a bit of granite but you can use the rocks that are available to you. Choosing the best rocks is a critical aspect as this will be the foundation of your wall. The better the rocks are shaped, the easier it will be to fit them together and the less chiseling you will have to do.
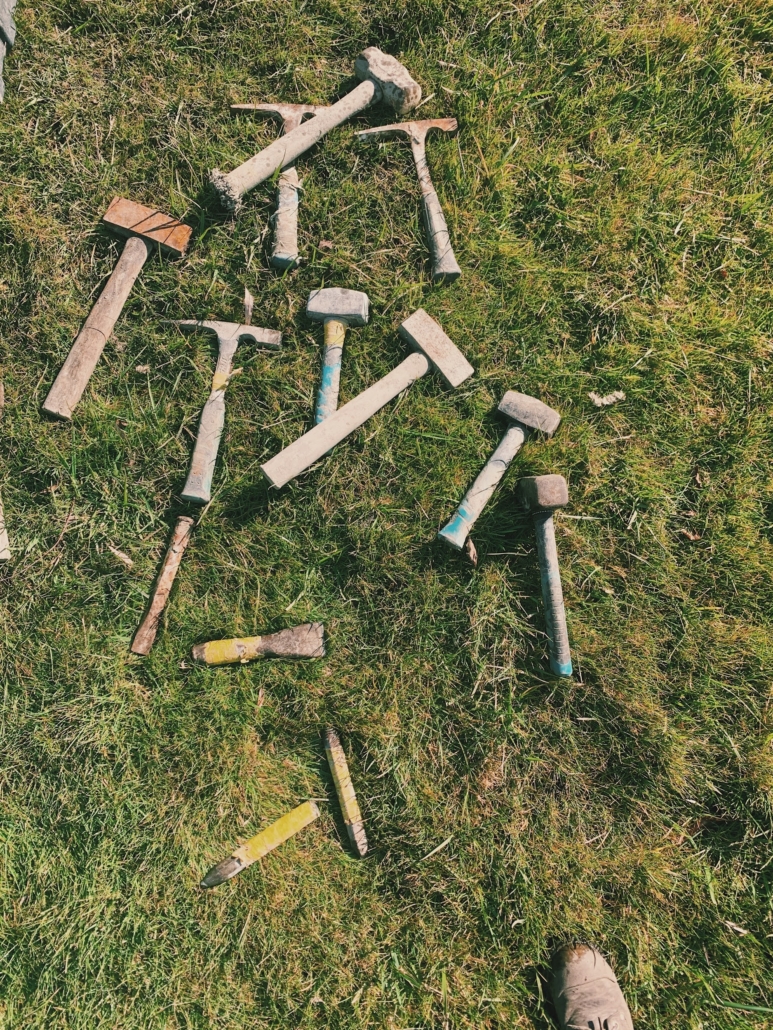
Once you've chosen your rocks you want to gather all the tools you'll be needing to create your stone wall. This includes a walling hammer, a sledgehammer, and a chisel. You may also want a wheelbarrow for moving your rocks back and forth with ease.
After collecting all your stones, you're going to need to set up a batter board. This is a structure that you will have on both sides of the wall with string lines going across it to ensure that you lay your stones level. You want to create your wall on a slight angle allowing gravity to spread out the base of the wall.
Your first layer will be your footing stones which are sometimes in a bit of a trench for added support. Throughout the process you will use infill material, which is made up of smaller pieces of rocks that add strength to the structure; they are usually the pieces you have chipped off of the bigger rocks. Continue placing your face stones with the nicest visible surface facing outwards all the way up the structure while continuously adding infill material for support. Every few layers, you will use larger stones that pass through to the other side of the wall to create strength and stability. If you come across a stone that is not the desired shape or face that you need, use your chisel and hammer to chip the rock to achieve your desired look. For added structure and symmetry you want every second row of rocks to overlap at the seams. You will finish off your structure with a topstone to lock everything in place. Each rock should fit perfectly and snuggly in your wall.
If you've done everything properly you should be left with a timeless structure lasting you for many years to come. This classic method of hardscaping is simple, impressive and has been proven to withstand the test of time. Dry stone wall is a unique way to add some beautiful contrast to your landscape, I believe it is a great addition to any property or garden.
Thanks to instructor Kevin Wilson at Rocks and Stones Inc! You can see his work on rocksandstones.ca and also check out his YouTube video channel at Hardscape Training Canada.


