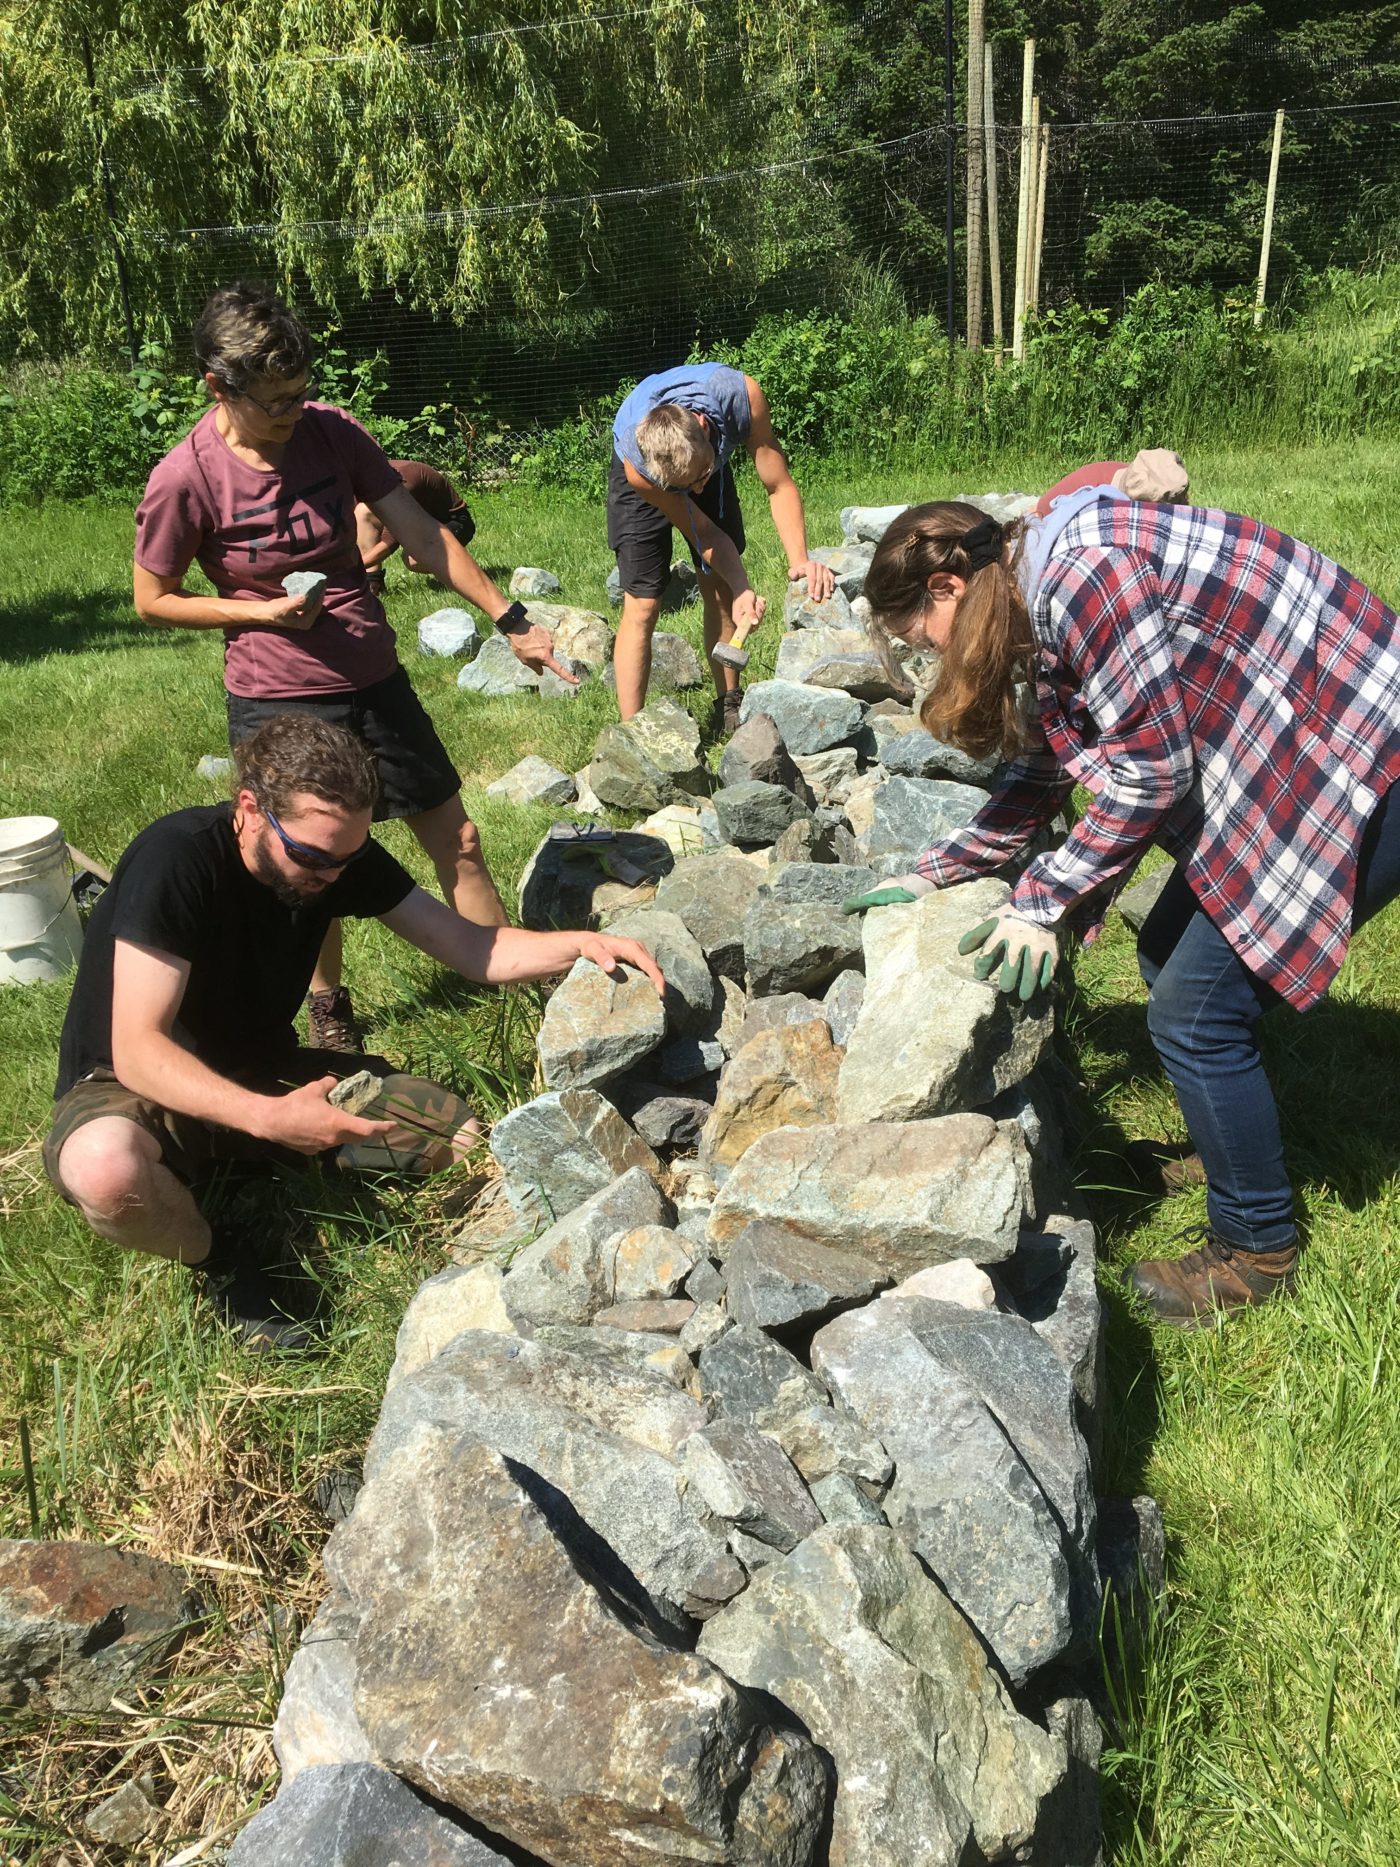
Dry-Stone Walling Techniques
Student Blog post by: Amelia Barbin and Gareth Richards
The art of constructing dry-stone walls first began as a method to separate farmers' fields from their neighbours' in north-western Europe. “Dry stone” is defined simply as a stone structure that has been constructed without the use of mortar or another binding agent. This technique has since expanded beyond boundary walls to include sculptures, bridges, retaining walls, buildings, pathways and more.
Walls and structures which are held together with mortar can weather over time and deteriorate. Once the mortar has decayed, the stones fall away from each other as they are not placed in a way to balance them; they are completely dependent on the mortar. A dry-stone wall is constructed in such a way that it is able to shift with environmental changes and has some flexibility. Freezing and thawing causes structures and their foundations to shift, creating gaps, so that when a dry-stone wall is built it is important that there must be contact on every surface of every rock.
The first step in building a dry-stone wall is setting up a batter board: a wooden structure, one at each end of the proposed wall, with levels guides provided by tensioned string running between them to ensure and maintain angles of the wall design. A stone structure is ideally built on top of a compacted gravel surface or ‘footing', for solidity, with the base slightly below ground level to maximize stability.
 Rock material can be sourced from specialized suppliers or as a by-product of blasting in the construction industry. In Victoria it is common to find a mix of granite and basalt which typically has a nice blue-grey colour. Sandstone is also a good quality rock to use as it is a bit softer and easier to shape. The labour of selecting, transporting and shaping rocks is a significant aspect of this approach. As the wall begins to take shape, the builder can either search to find the best set of rocks for the project at the supplier's site, or they can shape their own with specialist chisels and hammers in situ. Learning the technique takes lots of time and practice. Some use saws and grinders to cut their rocks; however this creates a lot of silica dust which is a big safety concern and requires the use of masks or vacuums. An experienced stonemason is able to lay approximately 30 SQ FT of stone per day.
 Each rock should fit perfectly into its own place like a puzzle piece. Any gaps, as well as the inner section of the wall are filled with smaller pieces or stone chips. The tighter the rocks fit together, the stronger the wall will be. Alternating the seams of the rocks in the same way that one would lay bricks improves both strength and aesthetic appeal. Another way to improve strength is by angling the wall slightly and making the bottom wider than the top. This allows the rocks to lean on one another and distributes weight. A well-built wall can last for several hundred years!
The simplest example is a wall constructed to retain the grade of a slope by stacking rocks up against it. Other dry-stone walls are used frequently in garden settings for such features as functional raised beds, creating tiered beds on a slope, and placing rocks as decorative features in a garden bed. Stones become “the bones of the landscape” as they create a contrast against soft plant matter. Shape and design can vastly change the style of a garden to create a rustic or formal feel.
Having a dry-stone wall can change the feel of a property very effectively. They are not only long-lasting and beautiful, but each is also unique as no two walls can be the same. Each one becomes a very special work of art as it is assembled and then becomes a permanent piece of its landscape.


